Changing the wheel bearings on an Audi A6 Saloon might sound like a job best left to professionals, but with the right tools, patience, and a little elbow grease, it’s entirely possible to tackle it yourself. If you’ve noticed a droning noise that changes with speed or a slight vibration creeping into the steering, a worn wheel bearing might be the culprit. Ignoring the problem could lead to more significant issues, so it’s best to address it sooner rather than later.
Tools and Equipment You’ll Need
Before diving in, gather everything you’ll need to make the process smooth:
- Jack and jack stands – Never trust just a jack; always support the car with stands.
- Lug wrench – To remove the wheels.
- Breaker bar – Helps loosen stubborn bolts.
- Torque wrench – Ensures everything is tightened to spec.
- Socket set – Preferably a good-quality metric set.
- Allen keys – Used for various bolts around the suspension.
- Hammer and rubber mallet – Sometimes, a little persuasion is necessary.
- Bearing puller or press – This is crucial for removing and installing bearings properly.
- Wheel bearing grease – Ensures smooth movement and longevity.
- Brake cleaner – Helps clean components before reassembly.
- Gloves and safety glasses – Protect your hands and eyes from debris.
If you don’t have a bearing press, check with a local auto parts store or mechanic. Some offer a pressing service if you bring the hub and new bearing.
Step-by-Step Wheel Bearing Replacement
1. Secure the Car and Remove the Wheel
Park on a flat surface and engage the parking brake. Loosen the lug nuts slightly before jacking up the car. Once it’s lifted and secured on jack stands, remove the wheel completely. If the handbrake is involved, consider adjusting the handbrake beforehand.
2. Remove the Brake Caliper and Rotor
Using your socket and breaker bar, remove the bolts holding the brake caliper in place. Hang the caliper using a bungee cord or zip ties to prevent stress on the brake hose. Next, remove the rotor, which may need a few taps with a rubber mallet if it’s stuck.
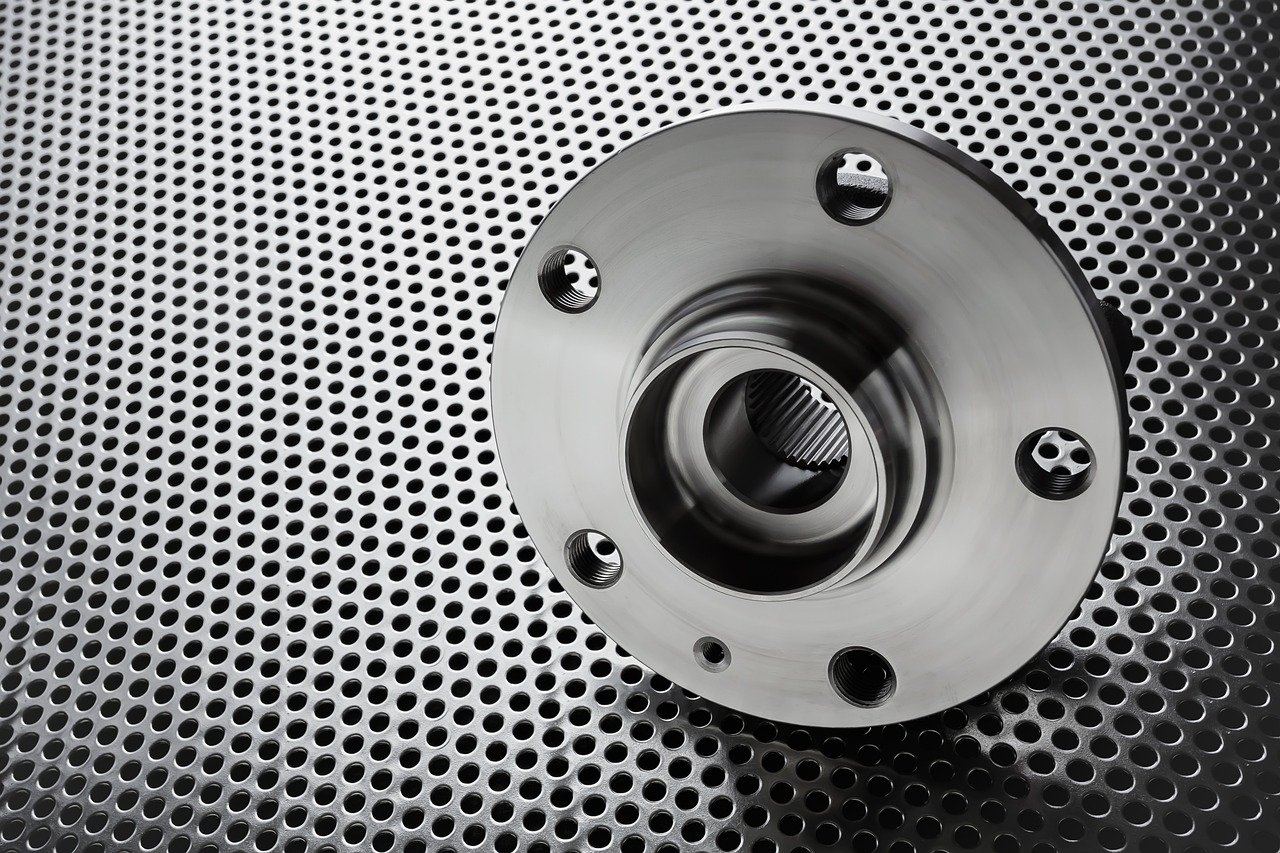
3. Take Off the Wheel Hub Assembly
This part requires patience. First, remove the axle nut (a breaker bar helps here), then remove the bolts securing the wheel hub. If the hub is stuck, penetrating oil and gentle taps from a hammer can help free it.
4. Extract the Old Bearing
Once the hub is off, you’ll see the bearing inside. This is where a bearing puller or press comes into play. If you’re replacing the hub and bearing as a unit, the job is much easier. Otherwise, carefully press the old bearing out.
“I learned the hard way that using improper tools here can lead to frustration and damage. A press makes life much easier.”
5. Install the New Bearing
Clean the area before pressing in the new bearing. Make sure it sits flush and rotates smoothly before securing it in place. Apply bearing grease where necessary.
6. Reassemble Everything
Now, follow your steps in reverse:
- Reattach the hub assembly.
- Reinstall the rotor and caliper.
- Tighten everything according to Audi’s recommended torque specs.
- Put the wheel back on and lower the vehicle.
7. Torque Everything to Spec
Once the car is on the ground, grab your torque wrench and ensure all critical fasteners, especially the axle nut and lug nuts, are tightened correctly.
8. Test Drive
Before getting too confident, take a slow test drive. Listen for unusual noises and check for any vibrations. A properly installed wheel bearing should eliminate the original symptoms. If braking performance feels off, it might be a good idea to bleed the brakes to remove any trapped air.
Final Thoughts
Replacing a wheel bearing isn’t the easiest DIY job, but it’s one of those repairs that, when done correctly, saves a significant amount of money and prevents further damage. If you’re comfortable working with suspension and braking components, this is a rewarding task.
If you’re unsure about any step, don’t hesitate to consult your vehicle service manual or seek professional guidance. Proper installation ensures safety on the road, and that’s always the top priority.