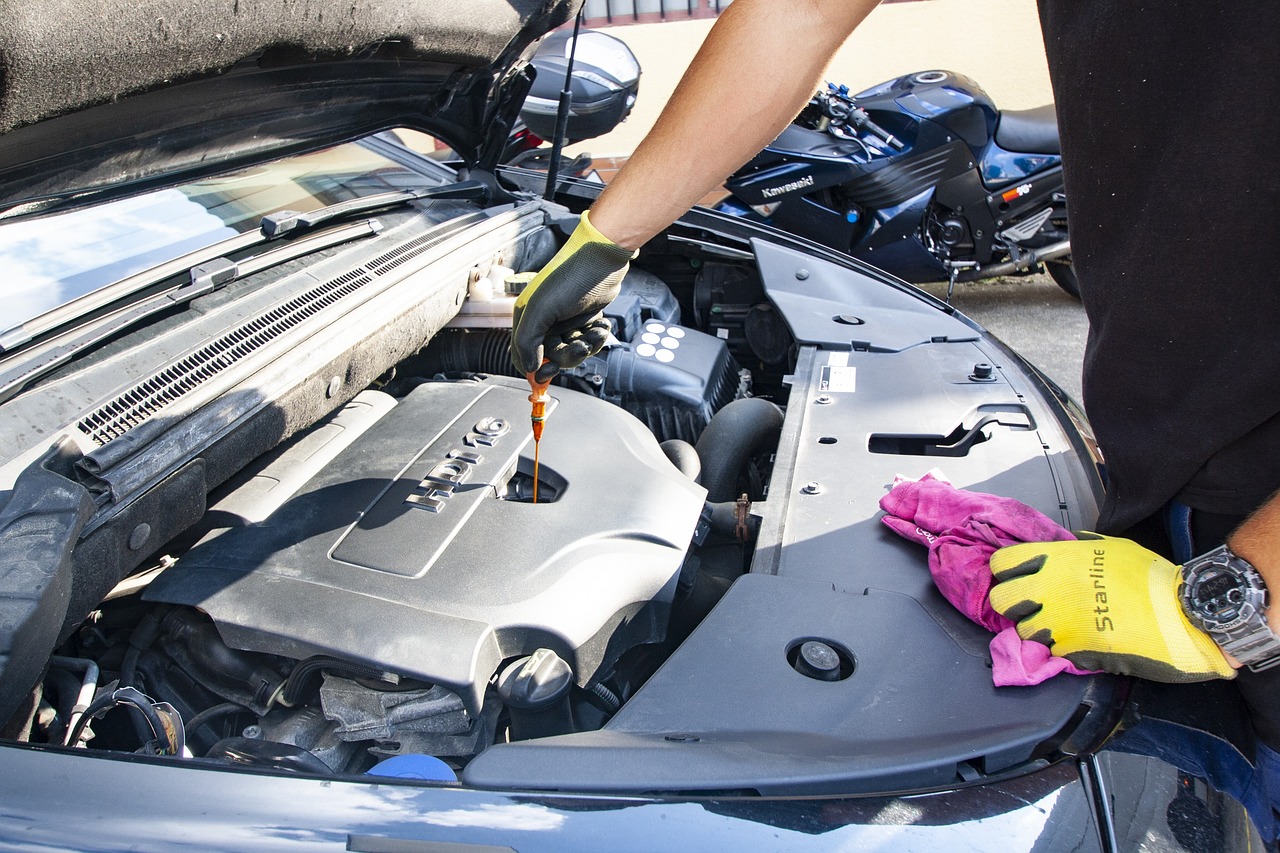
Replacing the timing belt on an Audi A5 Cabriolet isn’t just about wrenching away under the hood. It’s about precision, patience, and knowing exactly what you’re getting into. If you’re tackling this job yourself, you’re either an experienced DIY mechanic or someone who’s not afraid to get their hands dirty. Either way, this guide will walk you through the process with clarity and a few helpful insights along the way.
Why Replacing the Timing Belt Matters
The timing belt is the unsung hero of your engine, synchronizing the movement of the camshaft and crankshaft to keep everything running smoothly. When it fails, the results can be catastrophic, leading to bent valves, damaged pistons, or worse. A completely wrecked engine. Audi recommends replacing the belt between 60,000 and 100,000 miles, but always check your owner’s manual for the exact interval.
Let’s be honest: ignoring this job is a surefire way to invite disaster. A snapped timing belt while driving can leave you stranded with a hefty repair bill. Tackle it on your terms, in your garage, and you’ll keep your A5 Cabriolet purring without unexpected breakdowns.
Tools and Parts You’ll Need
Before diving in, gather everything you need. Nothing kills momentum faster than realizing you’re missing a critical tool halfway through the job.
Essential Tools:
- Socket set and wrenches
- Torque wrench
- Screwdrivers (Phillips and flathead)
- Serpentine belt tool or breaker bar
- Camshaft locking tool (specific to Audi engines)
- Harmonic balancer puller
- Jack and jack stands
- Flashlight or work light
Replacement Parts:
- New timing belt
- Tensioner and idler pulleys
- Water pump (recommended while you’re in there)
- New serpentine belt (optional, but a good idea)
- Coolant (since you’ll be draining some)
Step-by-Step Replacement Guide
1. Prepare the Vehicle
Park your Audi on a level surface, engage the parking brake, and disconnect the battery. Jack up the front of the car and secure it on jack stands. Remove the engine cover and any plastic guards obstructing access to the timing belt.
2. Remove the Serpentine Belt
Use a serpentine belt tool or breaker bar to relieve tension and carefully remove the belt. Inspect it for cracks or wear. If it looks questionable, replace it now.
3. Access the Timing Belt
Remove any components blocking access to the timing cover, including the crankshaft pulley if necessary. Carefully take off the timing cover to reveal the belt, tensioner, and pulleys.
4. Align the Timing Marks
This step is absolutely critical. Rotate the crankshaft by hand until the timing marks on the camshaft and crankshaft align. Use the camshaft locking tool to hold everything in place. If these marks are off when you install the new belt, engine timing will be incorrect, which can lead to serious damage.
5. Remove the Old Belt and Components
Loosen the tensioner and carefully slide the old belt off. Check the tensioner and idler pulleys for wear. Since you’re already this deep into the engine, replacing these components is highly recommended.
6. Install the New Belt
Route the new belt according to your engine’s diagram, ensuring it’s properly seated in all the pulleys. Reinstall the tensioner and apply the correct tension. Double-check the timing marks one last time before securing everything.
7. Replace the Water Pump (Optional but Recommended)
Since the water pump operates alongside the timing belt, replacing it now can save you from doing this entire procedure again later. Drain the coolant, swap in the new pump, and refill the system with fresh coolant.
8. Reassemble Everything
Reinstall the timing cover, crankshaft pulley, serpentine belt, and any other components you removed. Take your time. Rushing leads to mistakes.
9. Manually Rotate the Engine
Before firing it up, use a socket on the crankshaft bolt to rotate the engine by hand a couple of times. If it moves smoothly with no resistance, you’re good to go.
10. Start the Engine and Check for Issues
Reconnect the battery and start the car. Listen closely for any strange noises and watch for warning lights. If everything sounds smooth and runs properly, you’ve successfully completed the job.
Final Thoughts
Replacing a timing belt on an Audi A5 Cabriolet isn’t the easiest DIY job, but it’s one of the most rewarding. Not only do you save a hefty mechanic bill, but you also gain the confidence that your engine is in top shape. Take your time, follow the steps carefully, and always double-check your work.
If mechanical projects like this excite you, consider tackling other maintenance tasks yourself. You might surprise yourself with what you can accomplish with the right tools and a bit of determination.


