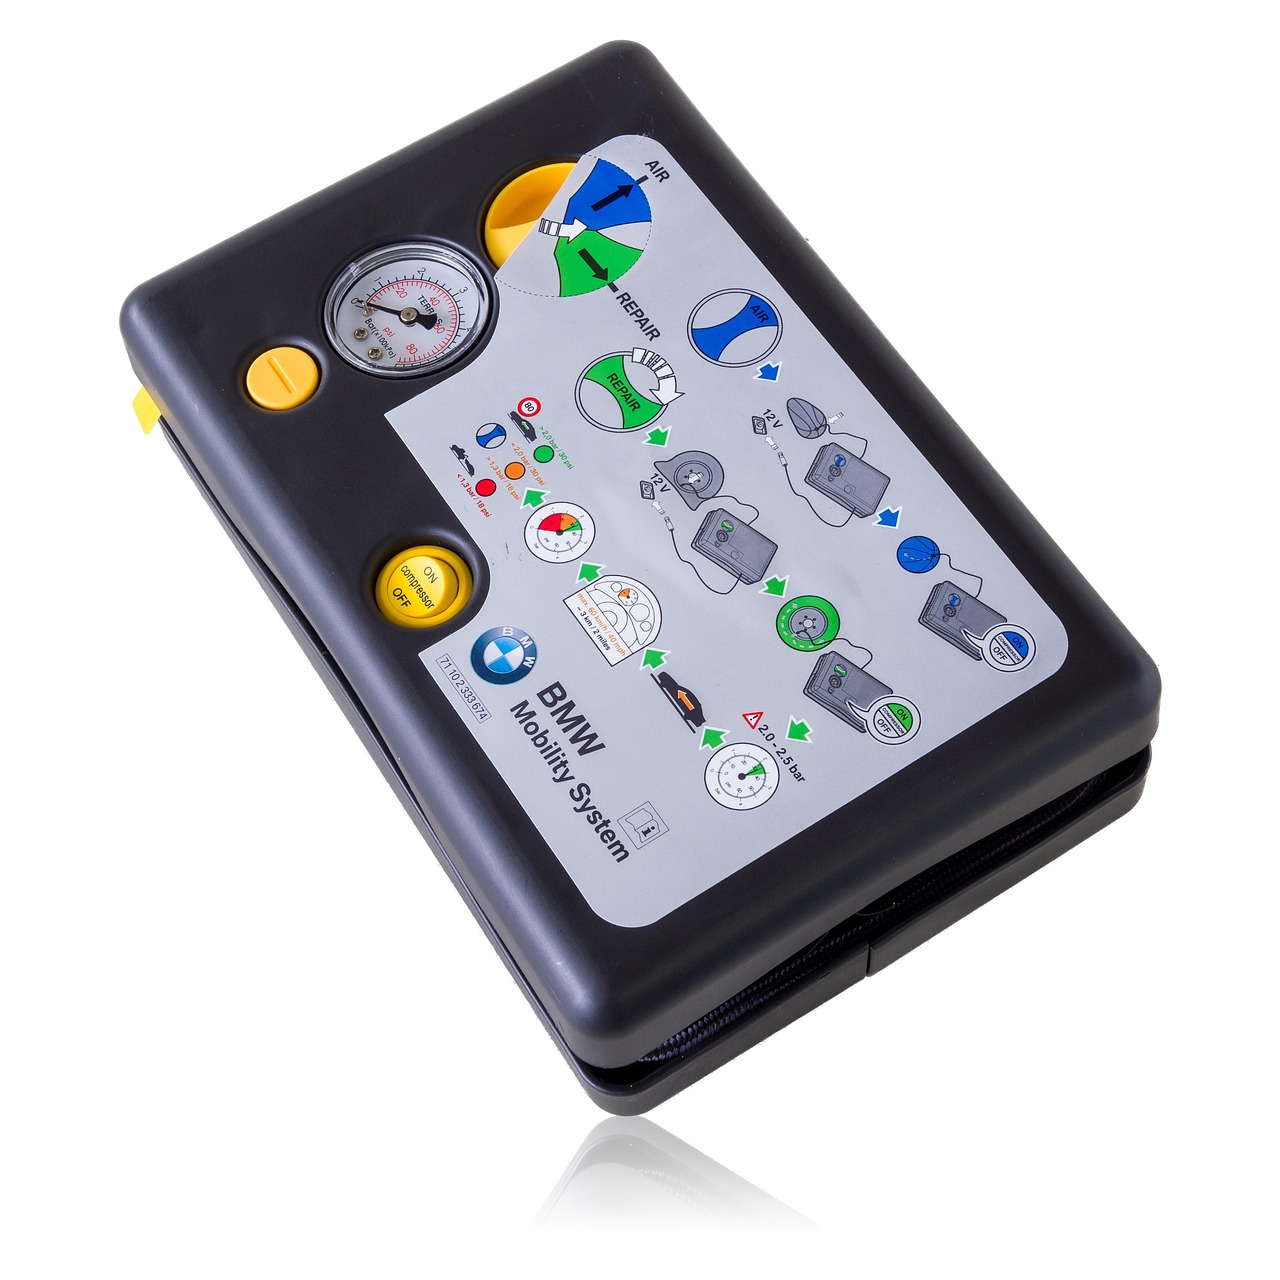
A failing air suspension compressor in a 2018 Range Rover can turn a smooth, luxurious ride into a bumpy, unpredictable experience. If your vehicle has been sitting lower than usual or taking forever to level itself, it’s likely time for a replacement. While this might sound like a job for a certified mechanic, tackling it yourself is entirely possible. With the right tools, a bit of patience, and this step-by-step guide.
Signs Your Air Suspension Compressor Needs Replacement
Land Rovers are known for their advanced air suspension system, but the compressor is one of its hardest-working components. Over time, it may wear out due to continuous use, exposure to moisture, or simply reaching the end of its service life. Keep an eye out for these red flags:
- Inconsistent Ride Height – If your Range Rover seems to be lower on one side or struggles to return to its normal height after startup, the compressor might not be providing sufficient pressure.
- Warning Lights on the Dashboard – An air suspension fault warning or vehicle height adjustment failure message is a strong indicator of compressor troubles.
- Unusual Noises – A failing compressor often becomes noticeably loud or emits clicking and grinding sounds as it struggles to operate.
- Longer Raise Times – If it takes significantly longer than usual for the suspension to lift, the compressor may not be producing adequate pressure.
If your SUV is displaying any of these symptoms, it’s time to gather your tools and get to work.
Tools and Parts You’ll Need
Before tearing into your Range Rover, make sure you have everything required for the job. You don’t want to be halfway through the replacement only to realize you’re missing a crucial tool.
Parts Required
- Replacement Air Suspension Compressor (ensure it’s compatible with the 2018 Range Rover)
- Compressor Mounting Hardware (if not included with the compressor)
- Air Lines and Fittings (if your factory fittings are worn)
Tools You’ll Need
- Jack and Jack Stands – To safely lift and support the vehicle
- Socket Wrench Set – Specifically 10mm or 13mm sockets, depending on your mounting bolts
- Torx Drivers – If your Range Rover uses Torx fasteners
- Trim Removal Tool – For removing plastic undercovers without breaking clips
- Pliers – To manipulate air hoses and fittings
- WD-40 or Other Penetrating Oil – Helps loosen stubborn bolts
- Safety Glasses and Gloves – Protect your hands and eyes during removal
Once everything is within reach, it’s time to dive into the actual replacement process.
Step-by-Step Guide to Replacing the Air Suspension Compressor
Replacing the compressor isn’t overly complicated, but precision and care are necessary to avoid damaging your suspension system. Follow these steps carefully:
Step 1: Disconnect the Battery
Before doing anything, disconnect the negative terminal of your battery. The air suspension system is electronically controlled, and any interference while powered can lead to faults or accidental engagement of the compressor.
Step 2: Lift and Support the Vehicle
Use a jack to lift the Range Rover and secure it with jack stands. The compressor is typically located under the vehicle, near the rear, which means you’ll need ample space to work.
Step 3: Remove the Plastic Underbody Shield
Most Range Rovers have a plastic shield covering key suspension components. Use a trim removal tool and appropriate sockets to detach it, exposing the compressor assembly.
Step 4: Locate and Disconnect Air Lines
The compressor has multiple air lines connected to it, transferring pressurized air to different suspension components. Carefully disconnect these, making note of which line belongs where.
Step 5: Unplug the Electrical Connector
Your compressor is powered through an electrical harness. Unplug the connector and set it aside to avoid strain on the wires.
Step 6: Remove the Old Compressor
Using a socket wrench, remove the compressor’s mounting bolts. Depending on corrosion, these bolts may be tight. Apply some WD-40 if necessary. Once loose, carefully pull the compressor out.
Step 7: Install the New Compressor
Position the replacement compressor in place and secure it with the mounting bolts. Ensure it’s properly seated before tightening everything down.
Step 8: Reconnect Air Lines and Electrical Connection
Reconnect the air lines exactly as they were before, using any new fittings if necessary. Once the air lines are in place, plug in the electrical connector.
Step 9: Reattach the Plastic Underbody Shield
Secure the shield back in place using its original fasteners. Double-check that everything is properly mounted before moving on.
Step 10: Lower the Vehicle and Reconnect the Battery
Gently lower your Range Rover off the jack stands, making sure it sits evenly. Reconnect the negative battery terminal.
Step 11: Test the New Compressor
Start the vehicle and allow the air suspension system to initialize. The compressor should kick on, and within a few moments, you should see the vehicle begin to level itself.
Final Thoughts
Swapping out a failing air suspension compressor can save you hundreds. If not thousands. Of dollars compared to visiting a dealership. More importantly, it’ll restore the smooth and responsive ride your Range Rover was designed to provide.
If you’ve completed the replacement but are still experiencing issues, you may need to check for leaks in the air lines or recalibrate the suspension through a diagnostic tool.
Think this guide was helpful? Share your experience or let us know if you ran into any unexpected challenges during the process.


