Bleeding the brakes on an Audi A5 Cabriolet may not be the most glamorous part of car maintenance, but if you want to keep your braking system in top shape, it’s a skill worth mastering. Soft or spongy brakes can make every stop feel like a gamble, which is the last thing you want when cruising in your cabriolet. Thankfully, with the right tools and a bit of patience, you can get the job done at home without an expensive trip to the mechanic.
Why Bleeding Your Brakes Matters
Over time, air can sneak into your brake lines, causing a noticeable loss in braking power. Unlike brake fluid, air is compressible, which means pressing your brake pedal won’t give you that firm, confidence-inspiring responsiveness you’re used to. If you’ve ever felt like you’re stomping on a marshmallow when braking, trapped air is likely the culprit.
Regular brake bleeding isn’t just about safety. It’s about maintaining the precise braking performance Audi engineered into your A5 Cabriolet. And let’s be honest, when it comes to a performance machine like the Audi A5, precision is everything.
What You’ll Need
Before diving in, make sure you have all the necessary tools and materials:
- Brake fluid (DOT 4, as per Audi specifications)
- A brake bleeder tool or a partner to pump the brake pedal
- A wrench (usually 11mm for Audi brake bleeder screws)
- A clear plastic hose that fits snugly over the bleeder valve
- A catch bottle to collect old brake fluid
- Gloves and safety glasses to prevent contact with brake fluid
- A turkey baster (yes, really – to remove old fluid from the reservoir)
Brake fluid can be nasty stuff, so always work in a well-ventilated area, and be careful not to spill it on your paint. It eats through it like acid.
Step-by-Step Guide to Bleeding Your Audi A5 Brakes
1. Prepare Your Car
Start by parking your Audi A5 Cabriolet on a level surface and securing it with wheel chocks. If you’re lifting the car, use jack stands. Never rely solely on a jack. Safety first.
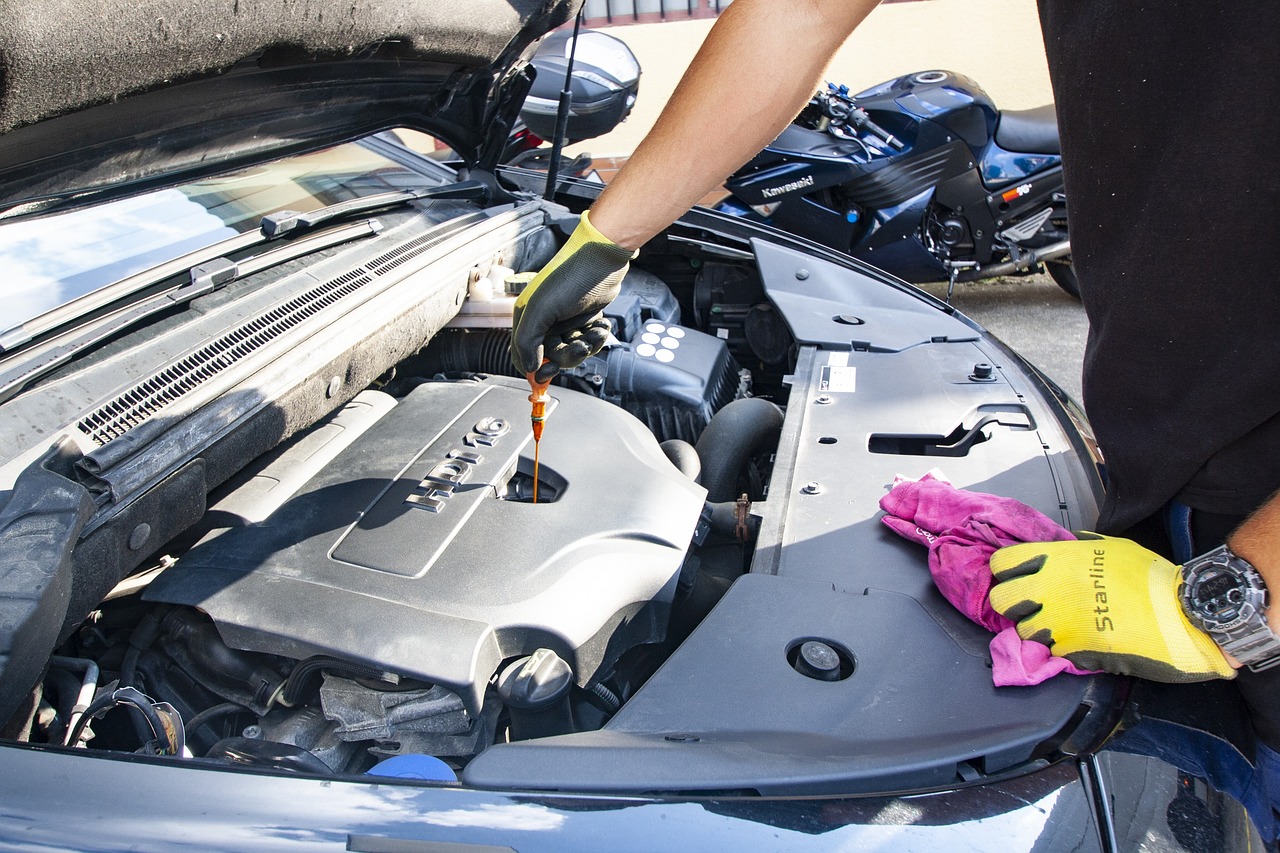
2. Check Brake Fluid Levels
Pop the hood and locate the brake fluid reservoir on the driver’s side. If the fluid looks dirty or dark, consider flushing the entire system rather than just bleeding the brakes. Use your turkey baster to remove old fluid and top it up with fresh DOT 4 fluid.
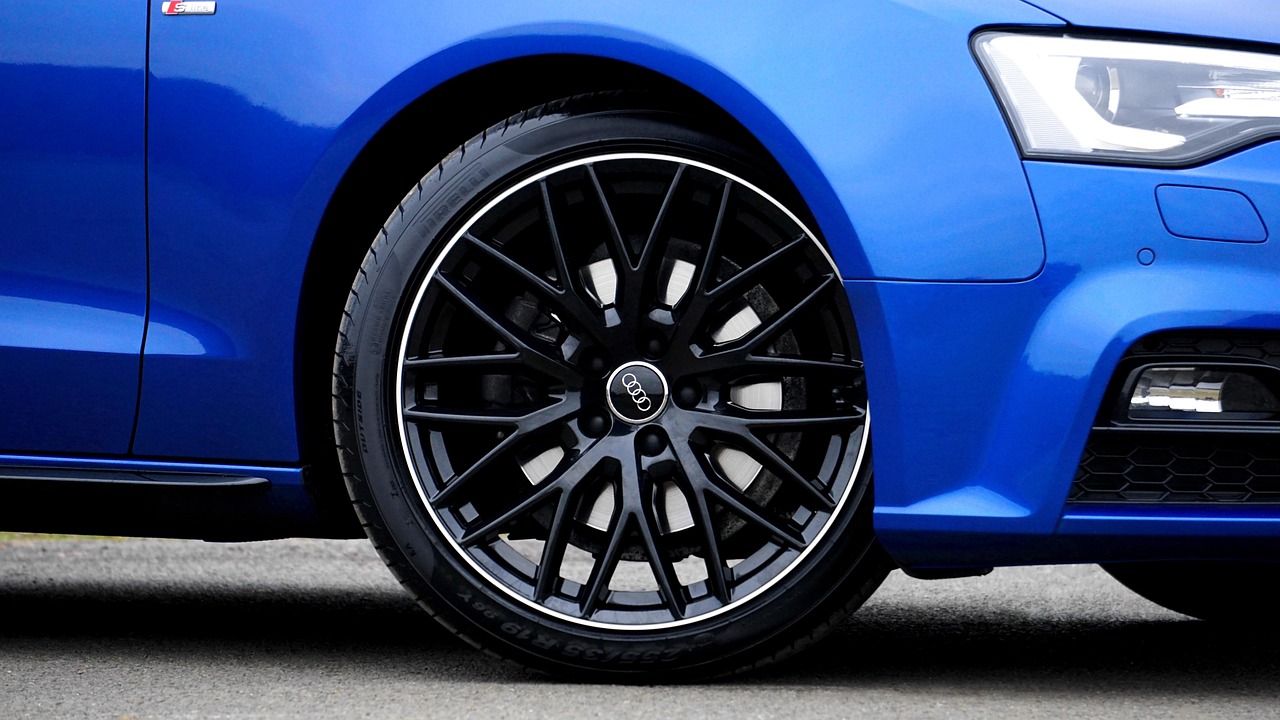
3. Locate the Bleeder Screws
Each brake caliper has a small bleeder screw, typically protected by a rubber cap. Remove the cap carefully, making sure not to lose it. The correct bleeding sequence for an Audi A5 (unless otherwise specified in your vehicle’s manual) is:
- Right rear wheel
- Left rear wheel
- Right front wheel
- Left front wheel
Follow this order to ensure trapped air is expelled efficiently.
4. Attach the Bleeder Hose
Slip the clear plastic hose over the bleeder screw and place the other end into a catch bottle partially filled with brake fluid. This prevents air from being drawn back into the system.
5. Pump and Bleed
If you have a partner:
One person should sit in the driver’s seat and pump the brake pedal a few times before holding it down firmly. The second person then loosens the bleeder screw slightly to allow fluid and air to escape. Once fluid flows steadily, tighten the screw before the pedal is released.
If you’re using a vacuum or pressure bleeder:
Follow the manufacturer’s instructions carefully. Typically, a vacuum bleeder pulls air and fluid out, while a pressure bleeder forces fresh fluid through the system.
6. Repeat for Each Wheel
Move through each caliper in the correct order, topping up the brake fluid reservoir as needed. Never let the fluid level drop too low, or you risk introducing more air into the system.
7. Check for Air Bubbles
When only clean fluid flows without bubbles, you’re done. Tighten the bleeder screw, replace the rubber cap, and wipe away any excess fluid.
8. Final Check and Road Test
Once all four wheels are bled, top up your brake fluid to the correct level. Start the car and press the brake pedal. If it feels firm and responsive, you’ve done the job correctly. Take the car for a cautious test drive, paying close attention to braking performance.
Common Issues and How to Fix Them
-
Spongy Brakes Even After Bleeding
If the pedal still feels soft, air might still be trapped somewhere. Repeat the process and ensure you’re following the correct bleeding sequence. -
Brake Fluid Leaks
Always check connections and bleeder screws for leaks after bleeding. Even a small leak can compromise brake performance. -
Brake Warning Light Stays On
If the brake warning light doesn’t turn off after bleeding, check fluid levels again. Some modern Audis require system resets, so consult your owner’s manual.
Final Thoughts
Bleeding the brakes on your Audi A5 Cabriolet isn’t beyond the reach of a DIYer with a bit of patience. It’s one of those jobs that rewards attention to detail. Doing it right means sharper braking, better performance, and most importantly, a safer ride.
If you’re not comfortable tackling this yourself, don’t hesitate to get professional help. But if you’re eager to learn and don’t mind getting your hands a little dirty, it’s a satisfying way to take control of your car’s maintenance. Whether you’re pulling up to a red light or hitting a tight corner on a winding road, knowing your brakes are in top form can make all the difference.
Got any DIY brake bleeding tips or horror stories? Drop them in the comments. I’d love to hear how your experience went!