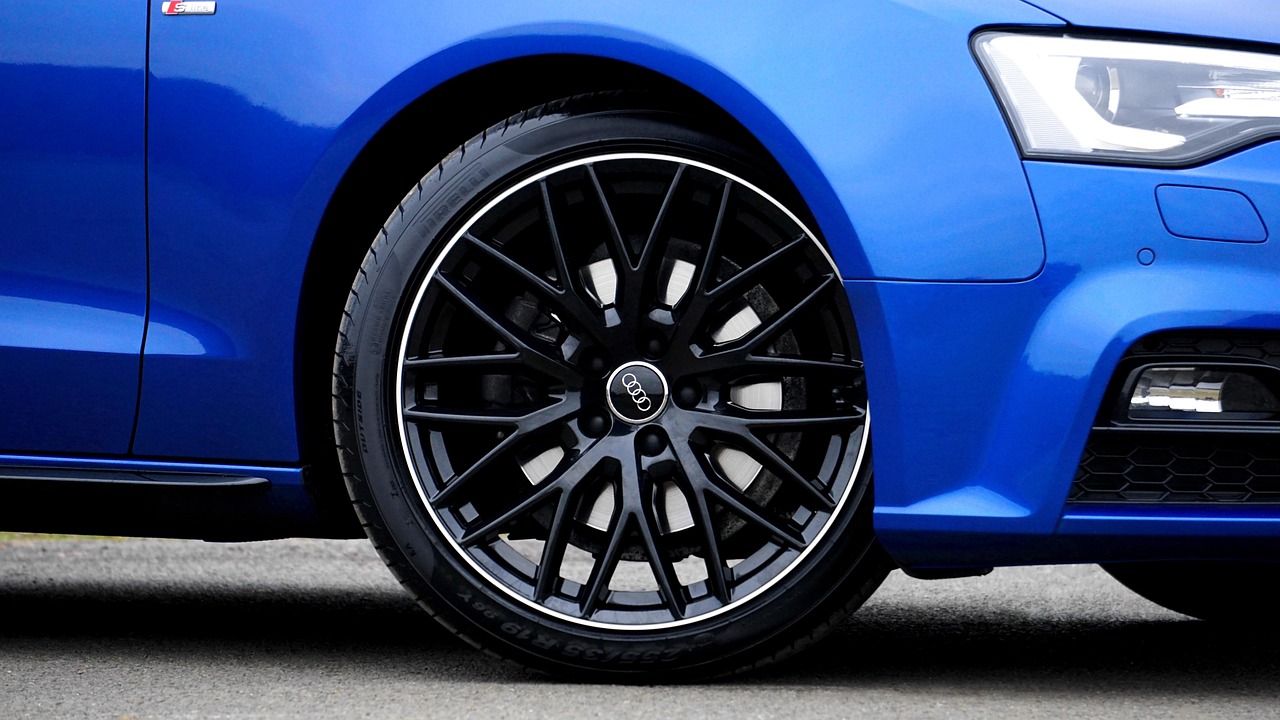
Changing the differential fluid in your Audi A5 Cabriolet might not be the most glamorous job, but it’s one of those essential maintenance tasks that can keep your car running smoothly for years. If you’ve never done it before, don’t worry. This guide will walk you through the process step by step. Grab your tools, roll up your sleeves, and let’s get to work.
Why Changing Your Differential Fluid Matters
The differential is a crucial part of your Audi’s drivetrain, allowing the wheels to rotate at different speeds while maintaining traction. Over time, the fluid inside breaks down, losing its ability to lubricate and protect the gears. Dirty or degraded fluid can lead to increased friction, excessive wear, and, eventually, costly repairs.
Audi typically recommends changing the differential fluid every 30,000 to 60,000 miles, though it’s always a good idea to check your owner’s manual for specifics.
What You’ll Need
Before you start, gather the necessary supplies:
Tools and Equipment
- Socket or hex key set – You’ll need the right size for the drain and fill plugs.
- Torque wrench – To ensure the plugs are tightened correctly.
- Oil catch pan – To collect the old fluid.
- Fluid pump – Makes refilling easier.
- Shop rags – Things can get messy.
- Gloves – Gear oil has a strong odor, and it’s not something you want on your hands all day.
Materials
- Audi-approved differential fluid – Check your owner’s manual or consult a trusted parts supplier for the correct type.
- New drain plug washer (if required) – Some models require a fresh washer to prevent leaks.
Step-by-Step Guide
1. Get Your Car in Position
Find a level surface to work on, and either lift the car with jack stands or use ramps if your clearance is low. Ensure the parking brake is engaged, and for extra safety, chock the wheels.
2. Locate the Differential Drain and Fill Plugs
On the Audi A5 Cabriolet, the rear differential has two important plugs:
– Fill plug – Usually near the top of the differential housing.
– Drain plug – Located at the lowest point of the housing.
Always open the fill plug first. This ensures you’re able to refill the differential before draining the old fluid.
3. Drain the Old Fluid
Position your oil catch pan under the drain plug. Using the appropriate socket or hex key, carefully remove the drain plug. Let the old fluid drain completely. This might take a few minutes.
Once fully drained, inspect the plug for metal shavings. A few tiny specks are normal due to wear, but excessive metal debris could signal internal problems.
4. Reinstall the Drain Plug
If your Audi requires a new washer, install it now. Then, thread the drain plug back in by hand before tightening it with a torque wrench to the manufacturer’s specified setting (typically around 30-35 lb-ft. But double-check your manual).
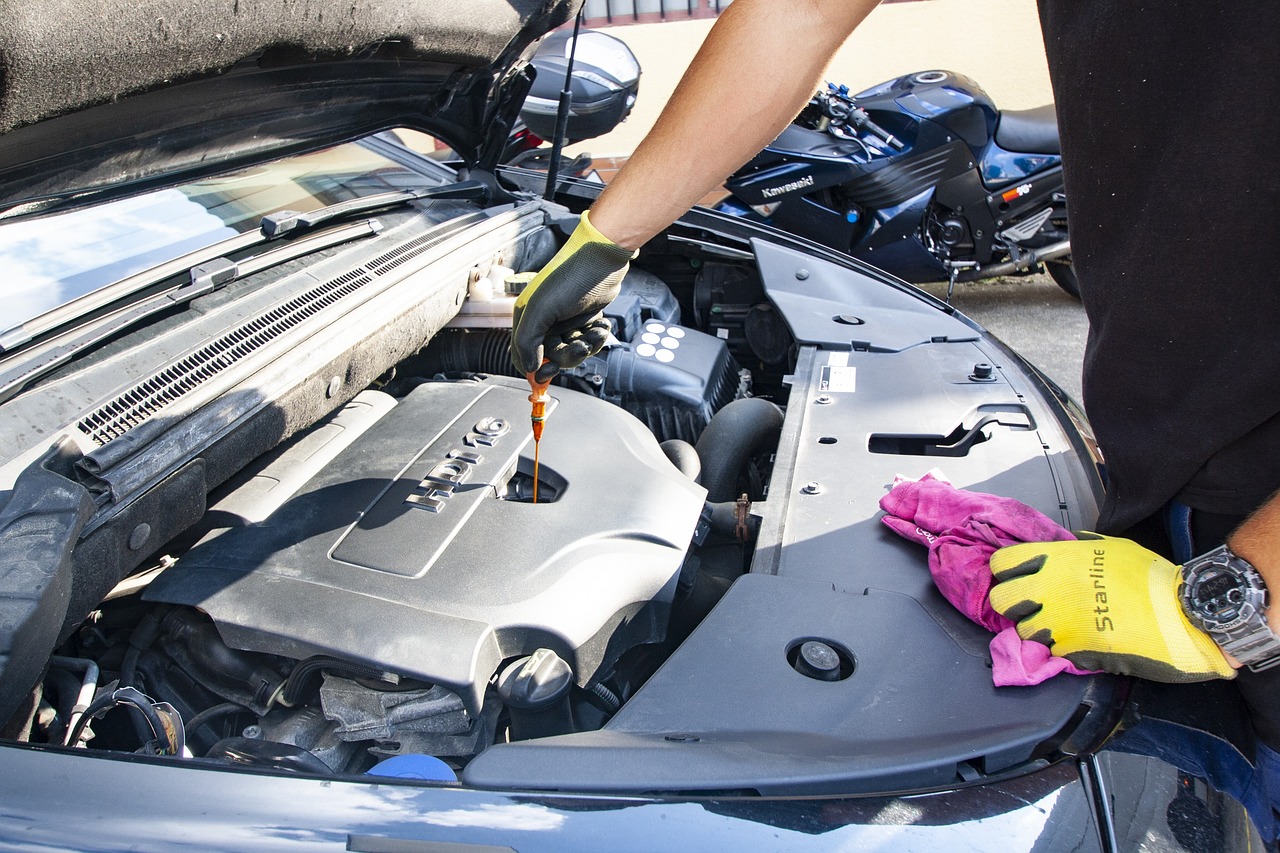
5. Refill with Fresh Fluid
Using the fluid pump, add the new differential fluid through the fill hole. Fill slowly until the fluid just starts to seep out. That’s how you know it’s at the right level.
Once full, carefully reinstall the fill plug and torque it to spec.
6. Clean Up and Double-Check
Wipe away any excess fluid and check for leaks. Lower your Audi back to the ground, and take a short drive to let the new fluid circulate. A quick recheck for leaks afterward is always a good idea.
Final Thoughts
Keeping up with your differential fluid changes can extend the life of your Audi A5 Cabriolet’s drivetrain and prevent wear-related issues down the road. Taking the time to do this yourself not only saves you money but also gives you a deeper understanding of your car’s mechanics.
If you have any doubts or notice anything unusual. Like excessive metal shavings or odd noises after the change. It’s worth having a professional take a look. But if all goes smoothly, you’ve just knocked out another piece of preventative maintenance, and your Audi will thank you for it.
Have you done this yourself before? Share your experience in the comments!