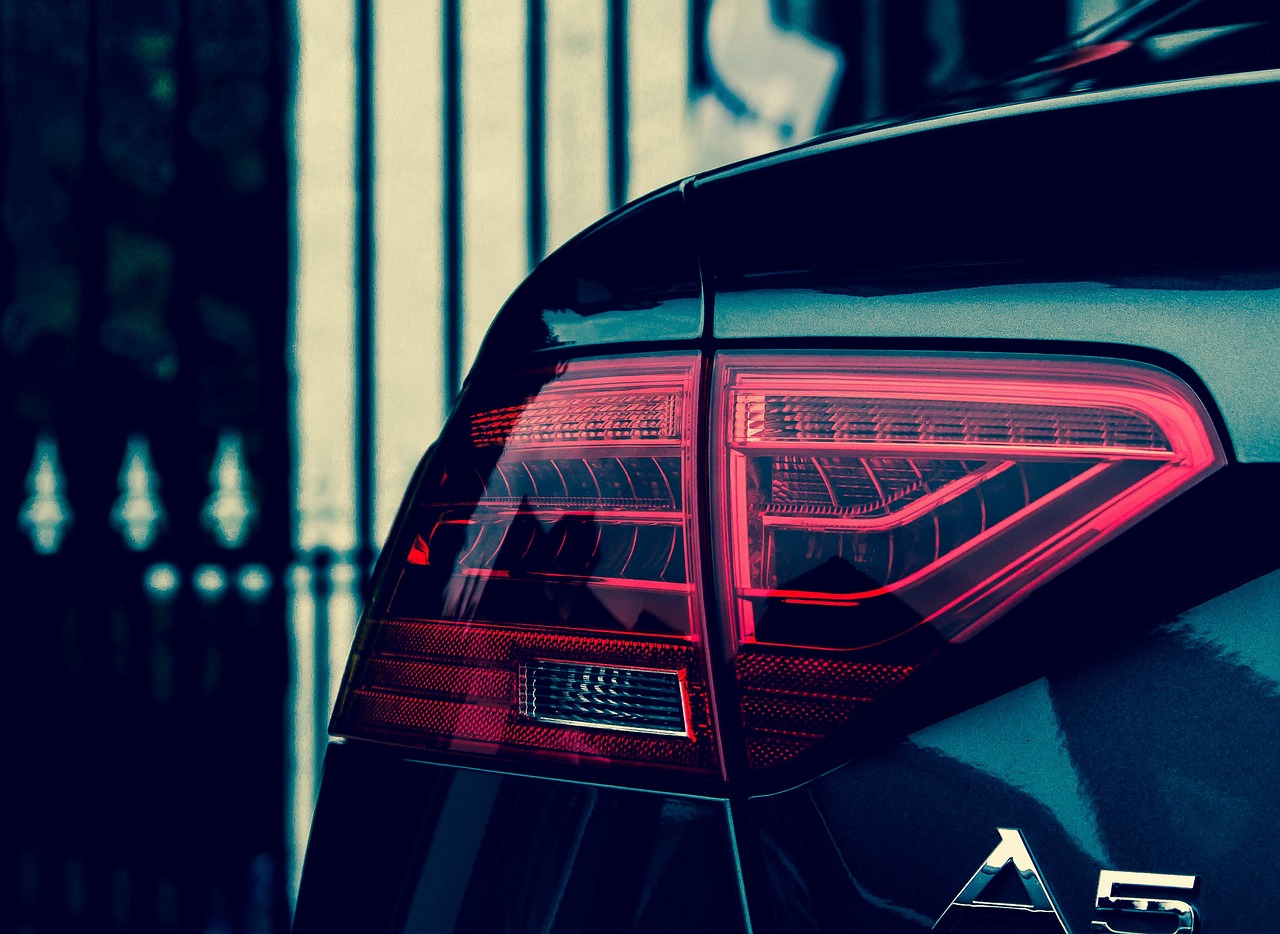
Owning an Audi A5 Cabriolet is a joy. Until a rear light bulb burns out. Suddenly, a sleek and stylish ride becomes a safety risk, not to mention the potential for getting pulled over. The good news? Replacing the rear light bulb isn’t as complicated as it might seem, and you don’t need a mechanic to handle it. With a little patience and the right tools, you can get it done yourself in no time.
What You’ll Need
Before diving in, gather everything you need so you’re not scrambling mid-repair:
- Replacement bulb – Check your owner’s manual or the existing bulb to ensure you purchase the correct type.
- Torx screwdriver – Audi loves Torx screws, and this job is no exception.
- Trim removal tool or flathead screwdriver – Helps gently pry parts without causing damage.
- Gloves – Oils from your hands can shorten the lifespan of the bulb.
- Microfiber cloth – For cleaning up any smudges or dust.
Step-by-Step Guide
1. Access the Rear Light Assembly
Start by opening the trunk. Audi A5 Cabriolets have a liner inside the trunk that covers the rear light housing. Look for a small access panel or flap on the side where the bulb needs to be replaced. If your model doesn’t have an access panel, you’ll need to carefully remove part of the interior trim.
2. Unscrew the Light Housing
Once you have access, locate the screw or plastic retaining clip holding the rear light assembly in place. Audi usually opts for a Torx screw, so your screwdriver will come in handy here. Loosen the screw, but keep a hand on the light housing. It might be slightly snug, but a gentle wiggle should help pull it free.
3. Disconnect the Wiring Harness
Before completely removing the light unit, detach the wiring harness. Audi’s connectors are generally well-designed, but they can be stubborn. If it’s not coming loose easily, double-check for a locking tab that may need to be pressed before pulling the connection apart.
4. Replace the Bulb
With the light housing out, identify the burnt-out bulb. Turn the bulb socket counterclockwise to remove it, then pull the old bulb straight out.
Try not to touch the new bulb with bare hands. Gloves or a microfiber cloth will prevent fingerprints and oils from shortening its lifespan. Insert the new bulb securely and twist the socket back into place.
5. Reassemble and Test
Reconnect the wiring harness before securing the light assembly back in position. Line it up carefully to avoid forcing anything. Once it’s seated properly, tighten the Torx screw to hold everything in place.
Before calling it a day, check your work. Turn on the lights and confirm that the new bulb is functioning properly. If it still doesn’t illuminate, double-check the installation, ensuring the bulb is seated correctly and that the connections are secure.
Common Issues and Troubleshooting
What if the light still doesn’t work?
If your new bulb isn’t lighting up, there are a few possible culprits:
- Incorrect bulb type – Double-check the specifications to ensure compatibility.
- Faulty wiring connection – Unplug and reconnect the harness to confirm a secure fit.
- Blown fuse – A bad fuse can prevent power from reaching the light assembly. Check the fuse box according to your owner’s manual.
What if the light housing won’t come off?
Some Audi A5 models have tight fittings that may need extra persuasion. Applying gentle but firm pressure with a trim removal tool can help loosen the assembly without damaging the paint or surrounding trim.
What if I’m worried about breaking something?
If you’re hesitant about tackling this yourself, don’t stress. Many local auto parts stores offer basic bulb replacements for free or at a small charge. If you’re ever unsure, reaching out to a professional mechanic can prevent accidental damage.
Why This DIY Fix is Worth Learning
Paying a mechanic or dealership to replace a simple bulb can cost far more than necessary. While the part itself might set you back just a few dollars, labor costs can add up quickly. Learning how to do this yourself saves time and money while helping you become more familiar with your car’s maintenance.
Taking care of small issues also helps keep bigger problems at bay. A malfunctioning rear light may not seem urgent, but neglecting small fixes can lead to bigger headaches down the road. Plus, there’s something satisfying about taking matters into your own hands and keeping your Audi in top shape.
Final Thoughts
Swapping out a rear light bulb on an Audi A5 Cabriolet doesn’t require advanced skills. Just a bit of patience and the right tools. Following these steps will have you back on the road safely in no time while avoiding unnecessary repair costs.
If this guide helped you, share your experience in the comments or pass it along to another Audi owner! Need help finding the right bulb? Check with your local auto shop or your Audi dealership to ensure you get the correct fit. Happy driving!