Replacing the oxygen sensor on an Audi A5 Cabriolet might sound like a complicated job reserved for seasoned mechanics, but with the right approach, it’s a task you can tackle confidently in your own garage. Whether your check engine light is nagging at you or you’re dealing with poor fuel efficiency, a worn-out O2 sensor is often the culprit. Let’s dive into the process and handle this like a pro.
Why Replacing the Oxygen Sensor Matters
The oxygen sensor plays a crucial role in maintaining your engine’s performance. It monitors the level of oxygen in the exhaust gases and helps your engine control the air-fuel mixture. When it goes bad, you might experience:
- A drop in fuel economy – Suddenly, you’re stopping at the pump more often.
- A rough idle or sluggish acceleration – Your Audi just doesn’t have the same pep.
- Increased emissions – Bad sensors lead to higher pollutant levels.
- A persistent check engine light – The most common indicator that something’s off.
Ignoring a faulty sensor can result in long-term engine damage or even a failed emissions test. Replacing it promptly saves you money and headaches.
What You’ll Need
Before getting started, gather the following tools and parts:
- A replacement oxygen sensor (make sure it’s compatible with your Audi A5 Cabriolet model year)
- Oxygen sensor socket (a specialized tool that makes removal easier)
- Ratchet and extensions
- Penetrating lubricant (like WD-40) to loosen any rusted components
- Jack and jack stands (or ramps for better access)
- Gloves and safety glasses (to protect yourself from debris)
- Anti-seize compound (optional but helpful in future replacements)
Once you have everything on hand, it’s time to get started.
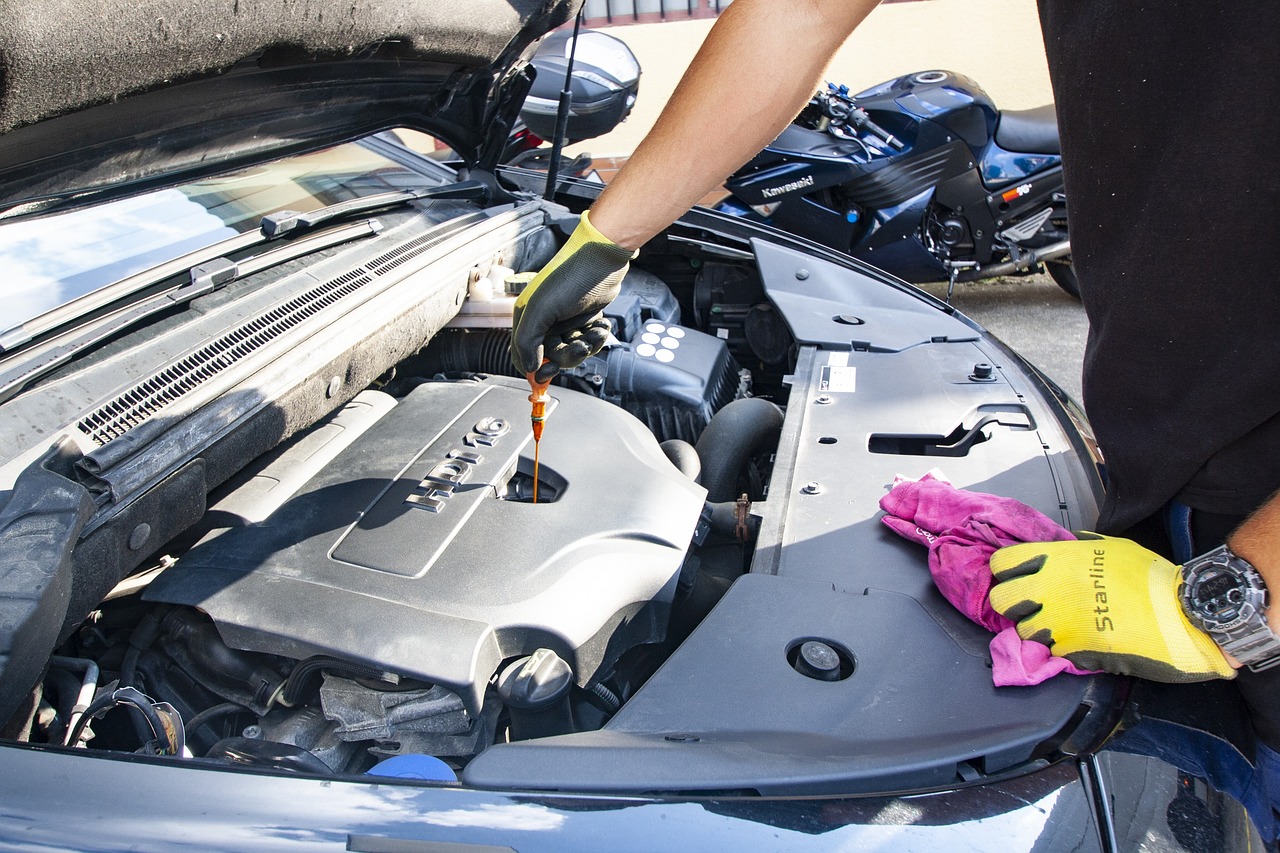
Step-by-Step Guide to Replacing the Oxygen Sensor
1. Locate the Sensor
The Audi A5 Cabriolet typically has multiple oxygen sensors. Usually one upstream (before the catalytic converter) and one downstream (after the catalytic converter). Check your owner’s manual or look up a diagram specific to your model year.
The easiest way to locate them is to follow the exhaust pipes. If your issue relates to fuel performance, the upstream sensor is likely the problem. For emissions-related fault codes, the downstream sensor may be the culprit.
2. Prepare Your Vehicle
- Park on level ground and let the engine cool down completely. A hot exhaust system can cause serious burns.
- Lift the car with a jack and secure it with jack stands if necessary.
- Disconnect the car battery to prevent any electrical mishaps.
3. Remove the Old Oxygen Sensor
- Locate the sensor and spray penetrating lubricant around the base to loosen any build-up.
- Use the oxygen sensor socket and ratchet to carefully unscrew the old sensor. If it’s stuck, applying a bit more force or heat from a torch can help, but be cautious.
- Once the sensor is loose, unplug the electrical connector.
4. Install the New Sensor
- Apply a small amount of anti-seize compound to the threads (unless your sensor is pre-coated).
- Carefully thread the new sensor into place manually to avoid cross-threading.
- Tighten with your ratchet, but don’t overtighten. Snug is sufficient.
- Reconnect the electrical plug securely.
5. Double-Check Everything
- Inspect for any loose wires or improperly seated connections.
- Reconnect the battery and start the engine.
- If the check engine light was triggered by the sensor, reset it using an OBD2 scanner or drive for a bit to see if it clears on its own.
Post-Replacement Considerations
Once installed, the new sensor will need a bit of driving to allow the ECU (Engine Control Unit) to recalibrate. If your Audi still runs rough or the fuel economy doesn’t improve after replacement, there might be another underlying issue. Like a vacuum leak or a failing catalytic converter.
Keeping a regular maintenance schedule for your oxygen sensors ensures optimal performance. These sensors generally last between 60,000 to 100,000 miles, so if you’ve hit that range, consider replacing all affected sensors instead of just one.
Final Thoughts
Swapping out an oxygen sensor on your Audi A5 Cabriolet might feel intimidating at first, but breaking it down into clear steps makes it manageable. Not only will you save on labor costs, but you’ll also gain confidence in handling basic car repairs.
If you experience any difficulty or notice persistent issues after replacement, consulting a trusted mechanic is always a wise move. Have you replaced an oxygen sensor before? Share your experience in the comments!