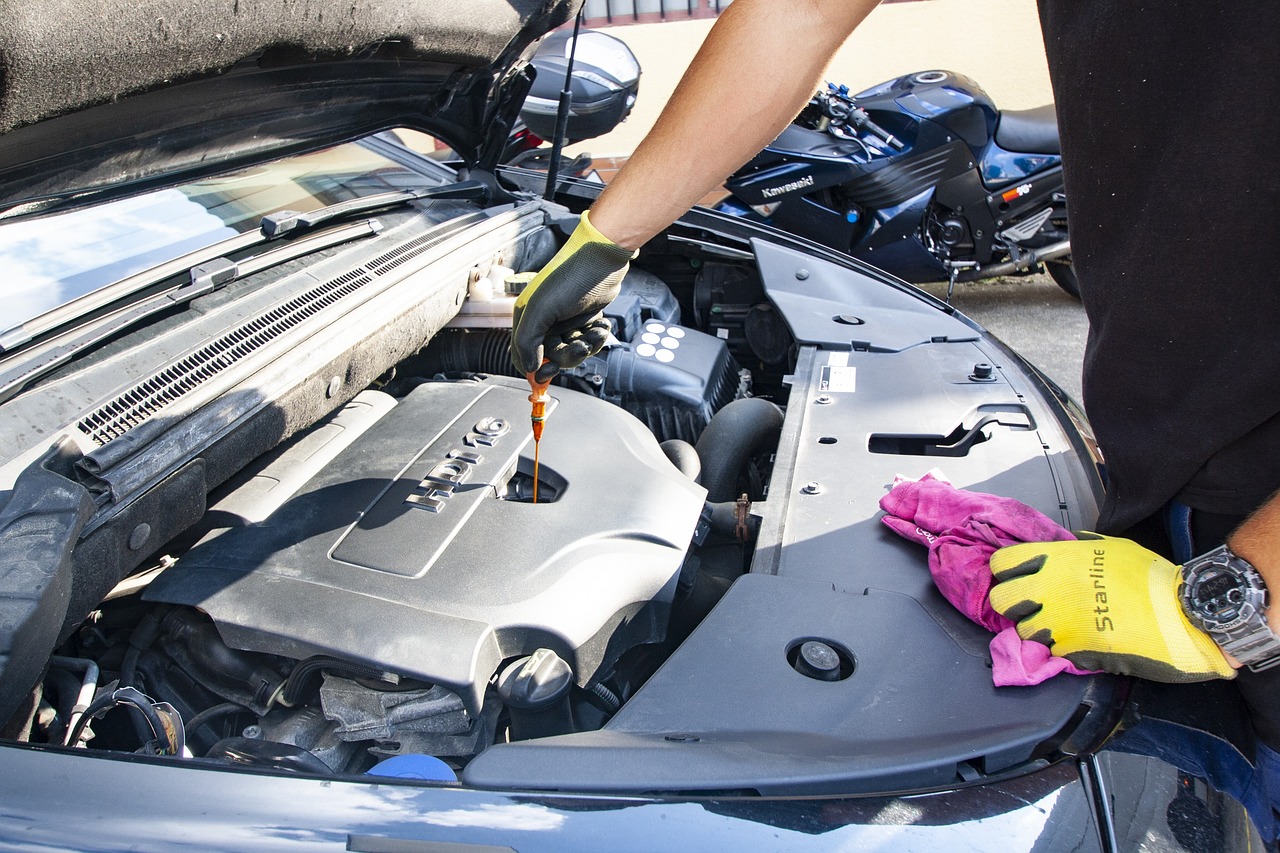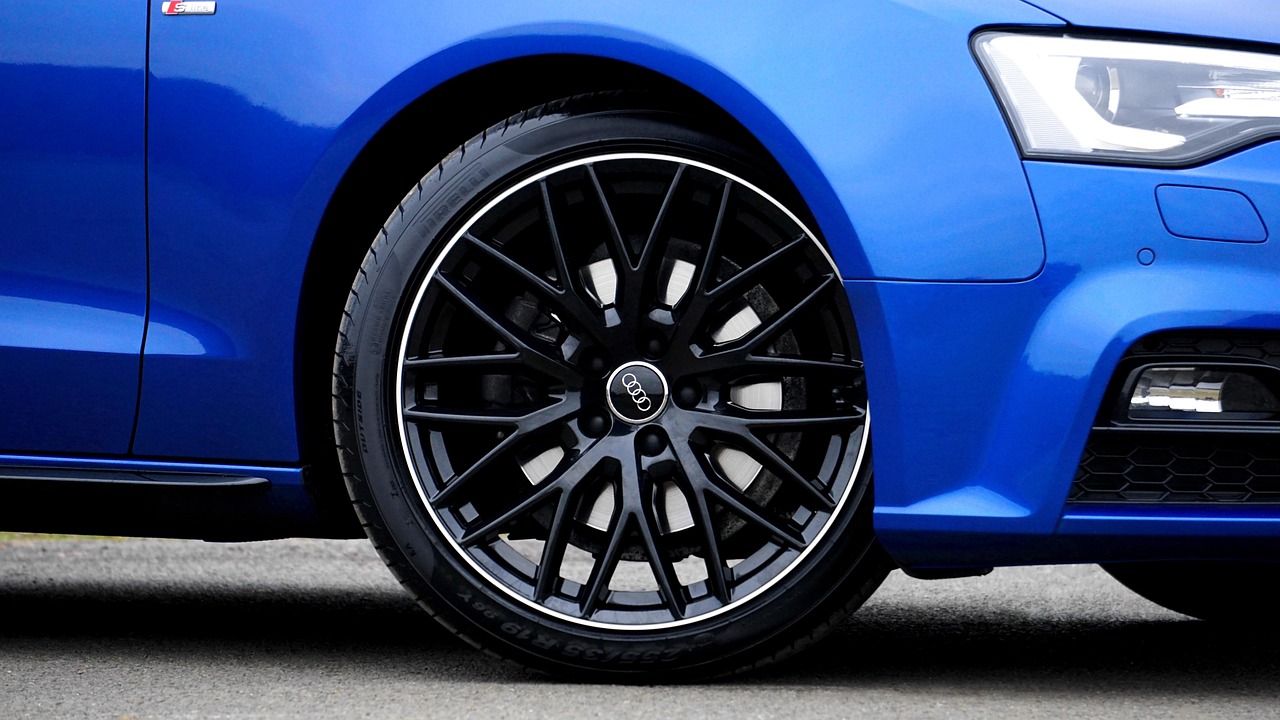
Replacing the rear brake discs on an Audi A5 Cabriolet might seem daunting, but with the right tools and a methodical approach, it’s absolutely doable. Even for a weekend DIYer. Whether your brake discs have worn down over time or you want to upgrade to a higher-performance setup, tackling this job yourself can save a significant chunk of change compared to a trip to the dealership.
Tools and Parts You’ll Need
Before getting started, make sure you have everything on hand. There’s nothing worse than getting halfway through the job and realizing you’re missing a crucial tool. Here’s a checklist:
- Floor jack and jack stands (or a lift if you have access)
- Wheel chocks (safety first!)
- Lug wrench (or impact wrench)
- Socket set (including a breaker bar for those stubborn bolts)
- Torx bits (specific sizes vary by model year)
- Torque wrench (critical for reassembly)
- Brake caliper rewind tool (electronic parking brake models require a diagnostic tool as well)
- Brake cleaner and rags (to clean new discs before installation)
- Copper grease or anti-seize (to prevent future sticking)
- New rear brake discs (OEM or aftermarket, depending on preference)
- New brake pads (since you’re already in there, replacing these is smart)
Step-by-Step Guide
1. Prep and Safety First
Before you dive in, park the car on a level surface, engage the parking brake (temporarily), and loosen the rear wheel lug nuts slightly while the tires are still on the ground. Never get under a car without jack stands in place. Once the vehicle is securely lifted, remove the rear wheels for access to the brake components.
If your Audi A5 Cabriolet has an electronic parking brake, this is where things get a little tricky. You’ll need to deactivate it via a diagnostic tool like VCDS or an OBD-II scanner with manufacturer software. Failure to do so can result in damage to the electronic brake motor.
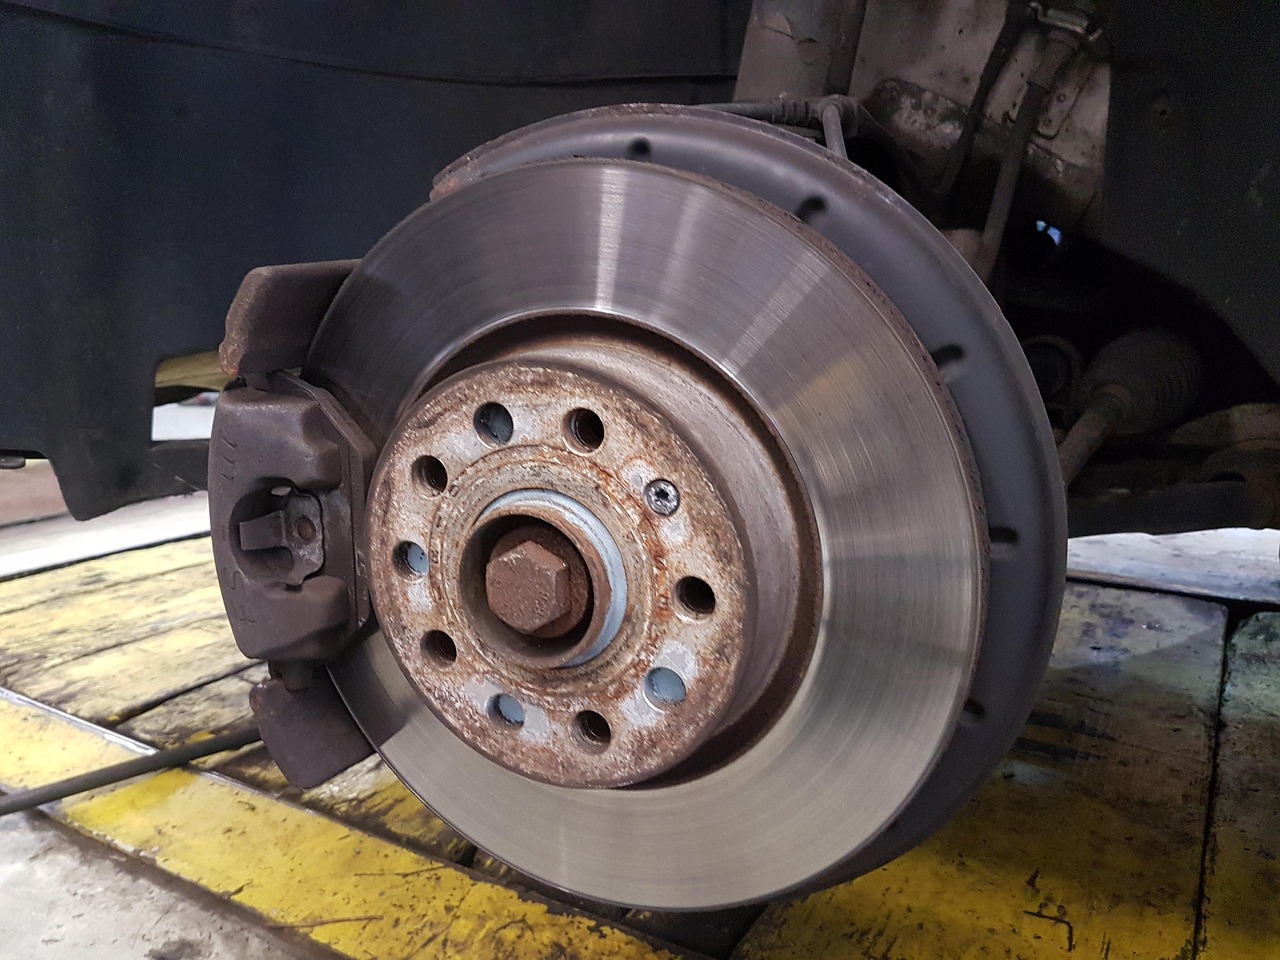
2. Remove the Brake Caliper and Carrier
Start by unbolting the brake caliper using the appropriate socket or Allen wrench. If it’s stubborn, don’t force it. Double-check for retaining clips or extra bolts holding it in place. Once free, support the caliper with a bungee cord or zip tie so it’s not dangling by the brake hose.
Next, remove the brake caliper carrier. These bolts are often coated with thread-locking compound, so they may require extra effort to break loose. A breaker bar or impact wrench can make this step easier.
3. Remove the Old Brake Disc
At this point, you’ll see the brake disc exposed. There may be a retaining screw holding it in place. Grab the right Torx bit and carefully remove it. If the disc is stuck (which is common due to rust), a few strategic taps with a mallet can help break it free.
“Sometimes, those brake discs seem like they’ve fused with the hub over time. I once spent an hour wrestling with one, only to finally win after a generous soak of penetrating oil and some well-placed hammer strikes.”
4. Install the New Brake Disc
Before slapping on the new disc, clean it thoroughly with brake cleaner to remove any factory-applied protective coating. Skipping this step can lead to uneven braking performance.
Align the disc with the hub and reinstall any retaining screws. Don’t overtighten. These aren’t load-bearing fasteners, just there to keep things aligned.
5. Reassemble the Brake System
Reinstall the brake caliper carrier, ensuring the bolts are torqued to the manufacturer’s specifications. Then, fit the brake pads into the carrier and carefully retract the caliper piston using the proper tool. If your Audi has an electronic parking brake, make sure the piston is wound back correctly. Forcing it manually can cause expensive damage.
Slide the caliper back into place over the new pads and tighten everything down.
6. Reengage the Parking Brake (If Electronic)
If you had to disengage the electronic parking brake, now’s the time to restore it via your diagnostic tool. Skipping this step can result in a malfunction warning or, worse, a parking brake that won’t operate correctly.
7. Final Checks and Bedding In
Double-check every bolt for tightness, reinstall the wheels, and lower the vehicle back to the ground. Tighten the lug nuts to spec using a torque wrench.
Before hitting the road, pump the brake pedal a few times to seat everything properly. Then, take the car for a gentle test drive to bed in the new discs and pads. Follow the recommended bedding-in procedure, usually involving a series of gradual stops to mate the surfaces evenly.
A Job Well Done
Replacing the rear brake discs on your Audi A5 Cabriolet isn’t just about saving money. It’s also a satisfying skill to master. With the right approach, the right tools, and a little patience, you’ll have your car stopping smoothly in no time. If you’re ever unsure about a step, a workshop manual or an experienced friend can be invaluable.
Feel free to share your experiences or ask questions in the comments. Every DIY job gets easier with a little community input!