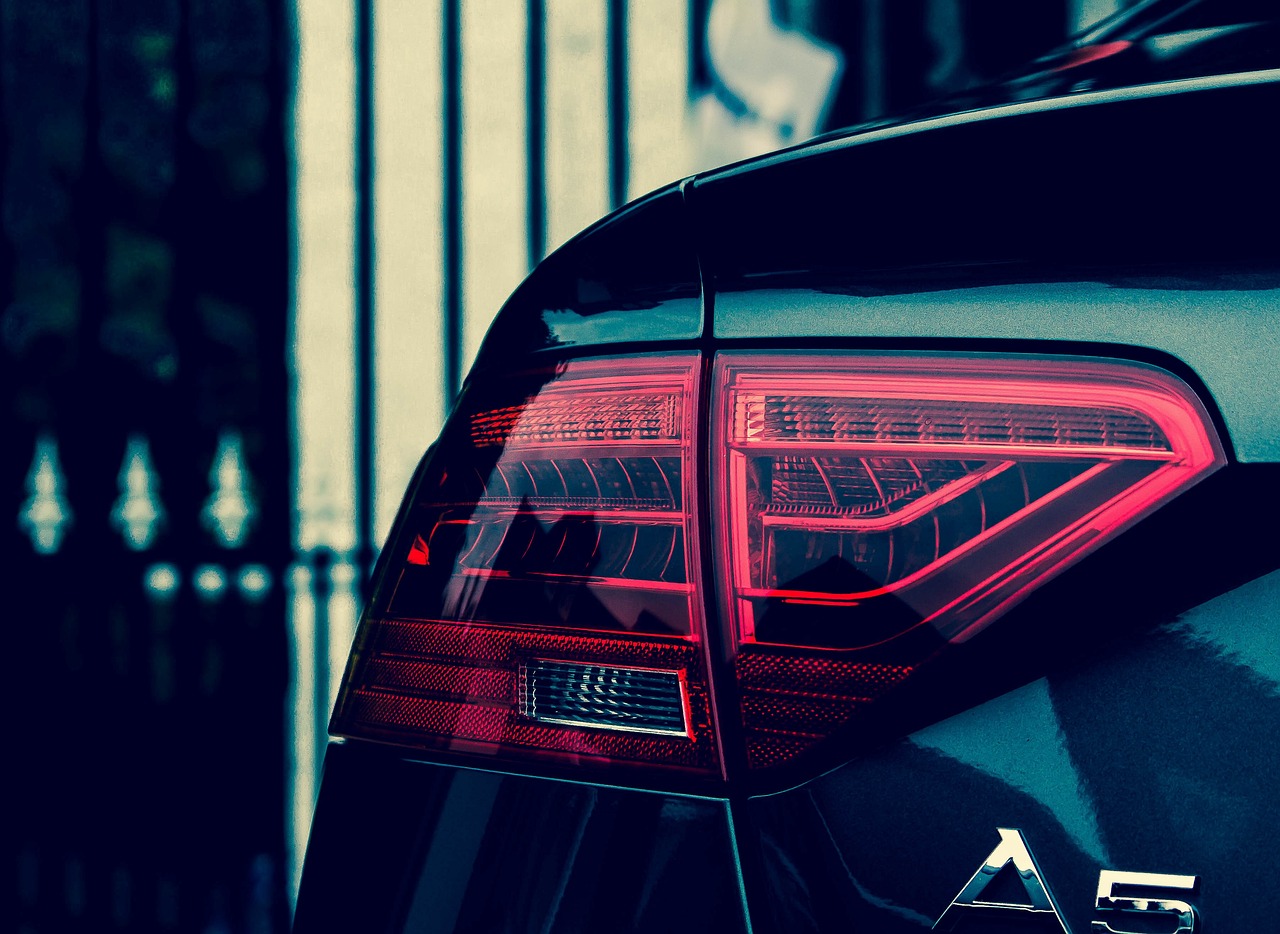
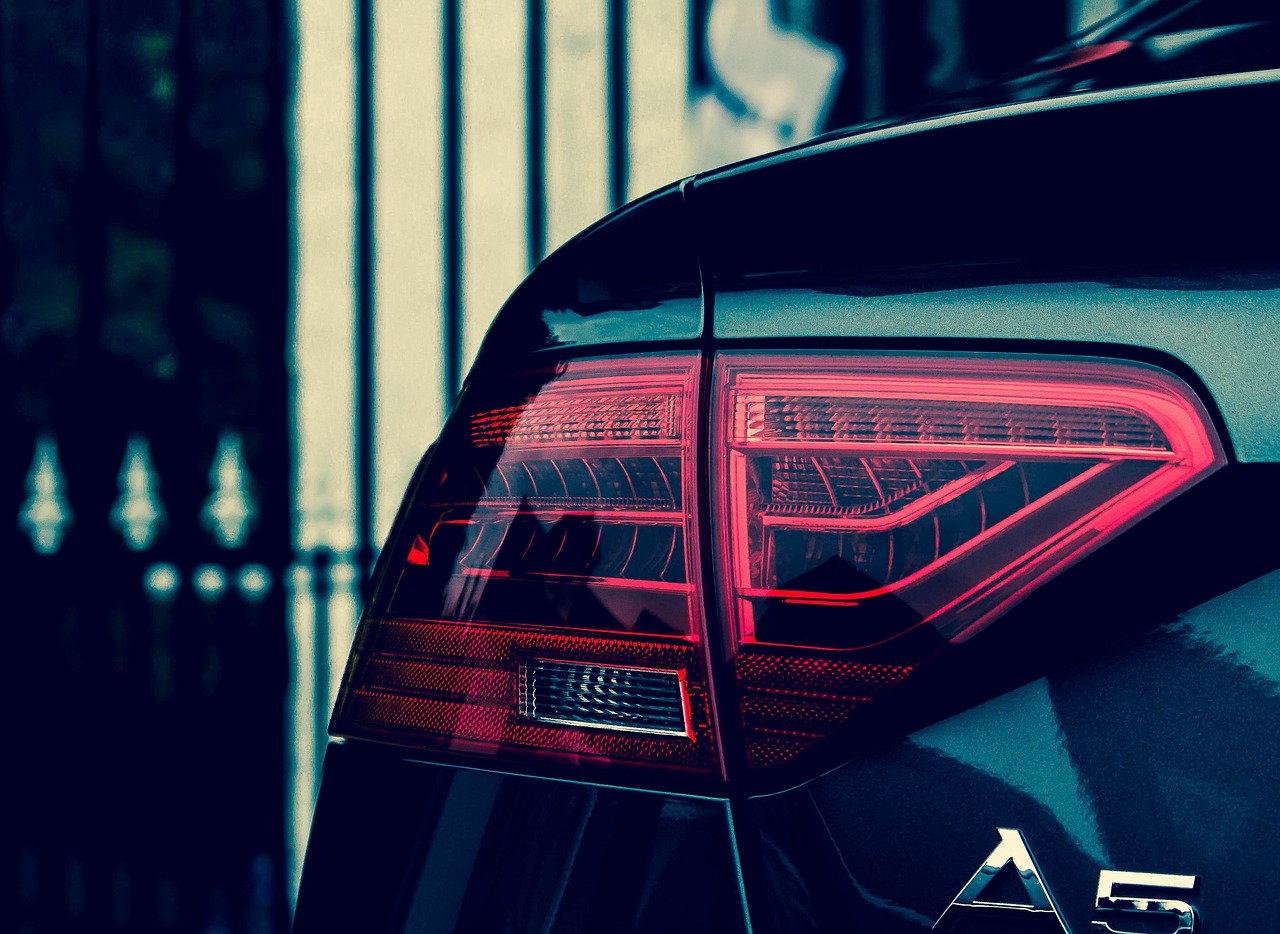
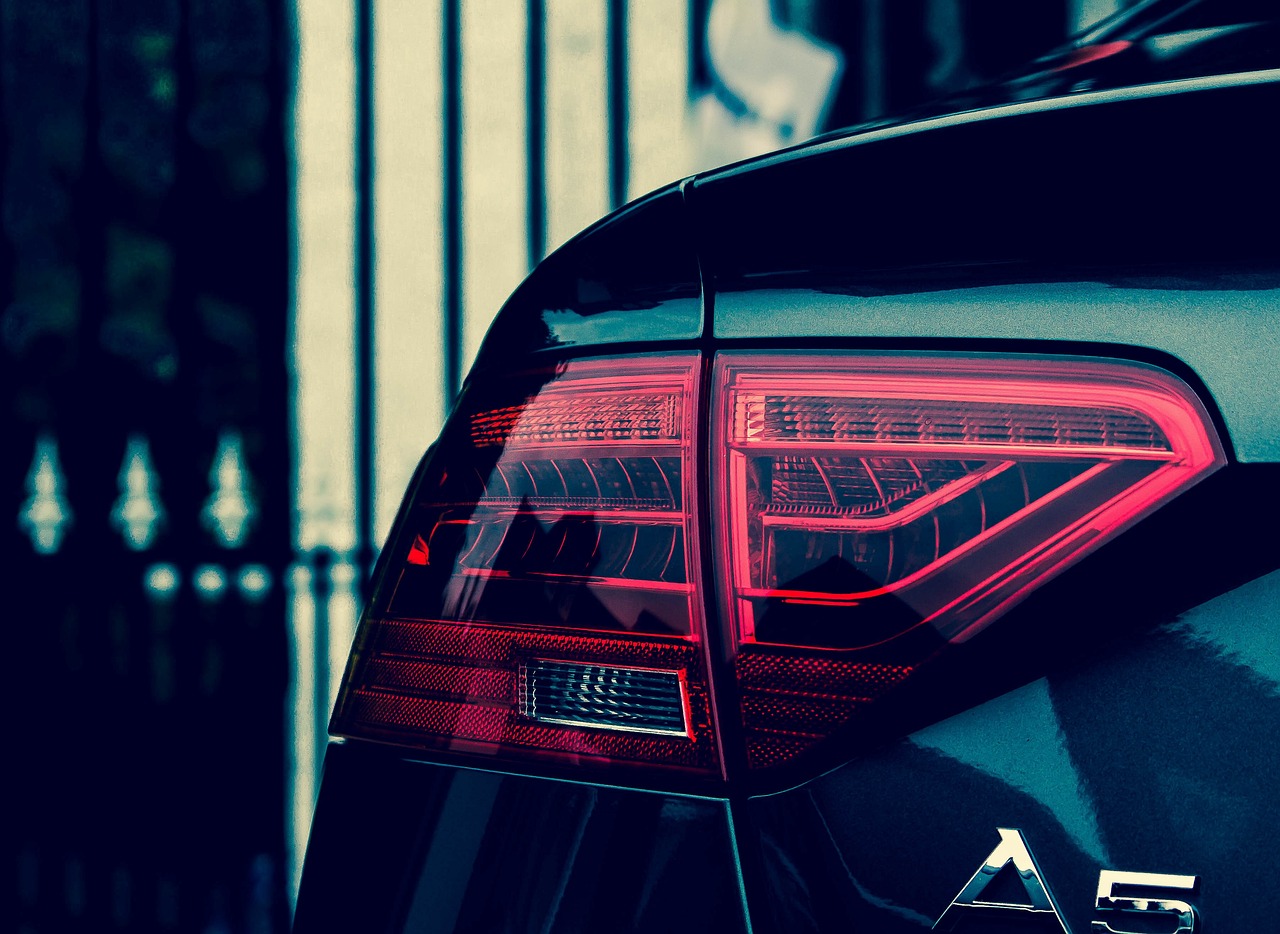
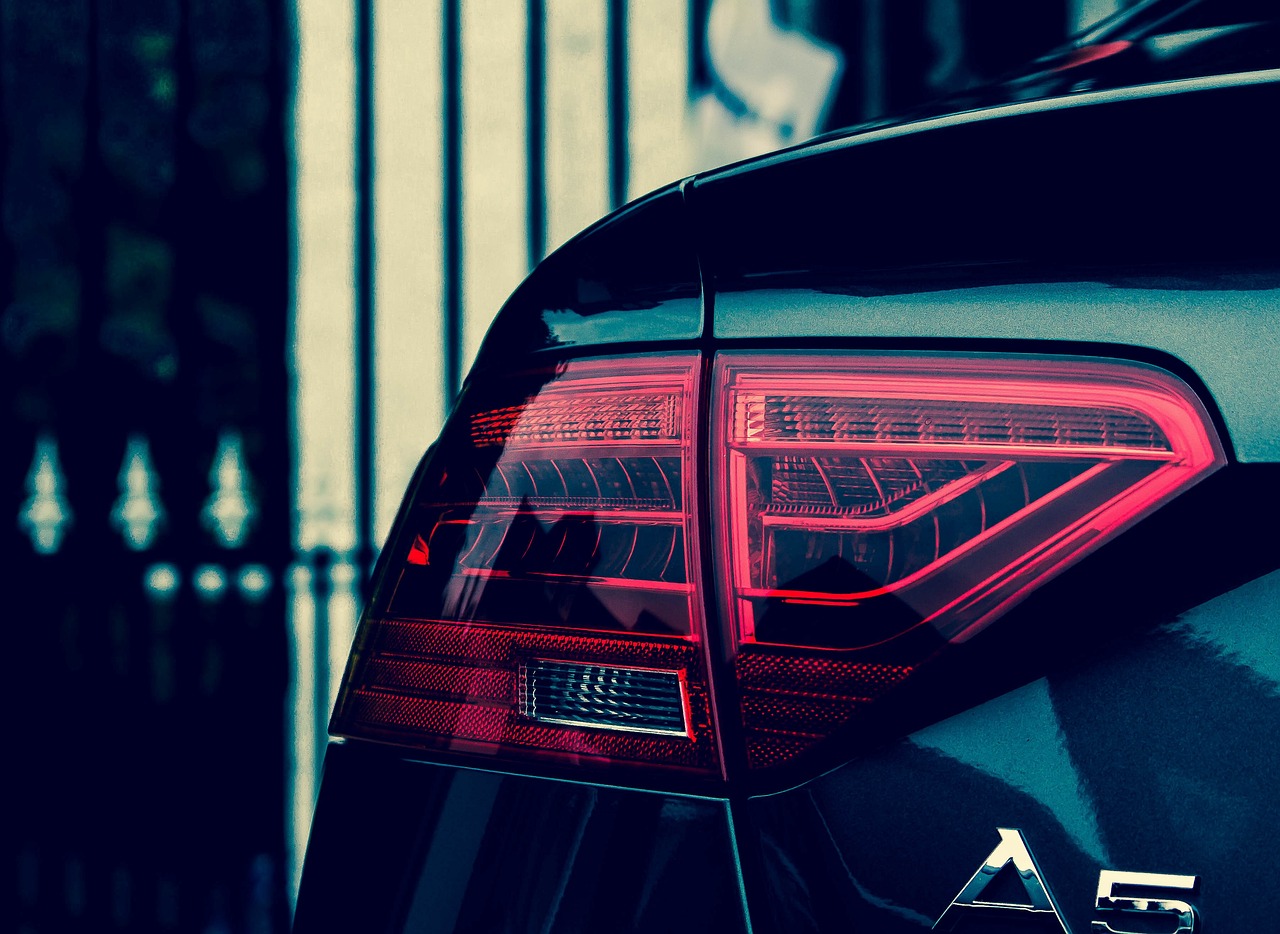
Owning an Audi A6 Saloon means enjoying a blend of luxury, performance, and cutting-edge technology. But even the most refined vehicles require occasional maintenance. One of the simpler tasks you might encounter is changing the rear light bulb. Whether it’s a brake light, reverse light, or turn signal, replacing it yourself can save time and money compared to a trip to the dealership. Let’s walk through the process step by step to ensure a smooth fix.
Why Replace the Rear Light Bulb Yourself?
First things first. Why bother doing this yourself? Aside from the satisfaction of handling your own car maintenance, replacing a rear light bulb is a straightforward process that doesn’t require special tools. If you’ve ever booked an appointment just to replace a minor part, you know how quickly small jobs can turn into unnecessary expenses. Learning this skill ensures you’re never caught off guard by a faulty light, which could lead to a potential fine or, worse, an accident.
What You’ll Need
Before getting started, gather the following items:
- New Bulb – Check your vehicle’s manual for the correct type.
- Flathead Screwdriver – Useful for prying open the casing.
- Socket Wrench (Optional) – Some models require unfastening screws.
- Gloves or a Clean Cloth – Prevents oils from your hands reducing the bulb’s lifespan.
Step-by-Step Guide to Changing the Bulb
1. Access the Rear Light Assembly
Pop the trunk and locate the access panel on the side where the faulty bulb is. Audi has designed the A6 with a user-friendly setup, often requiring minimal disassembly. Open the panel to reveal the rear light cluster.
2. Remove the Light Cluster
Some Audi A6 models may have a securing bolt that needs to be loosened. Using a socket wrench or screwdriver (depending on your model), gently remove any screws holding the unit in place. Once loose, carefully tilt the cluster outward. It may feel slightly snug due to the positioning, but a firm and steady grip will help dislodge it without damage.
3. Locate and Remove the Faulty Bulb
On the back of the light cluster, you’ll notice several bulb sockets. Identify the one that needs replacing, then twist it counterclockwise to remove the holder. Pull out the burnt-out bulb and inspect it. If you see a broken filament or dark discoloration inside, it’s definitely time for a new one.
4. Install the New Bulb
Take your replacement bulb and, without touching the glass directly, insert it into the socket. A soft cloth or gloves will prevent any dirt or oil from transferring, which can shorten the bulb’s life. Once securely in place, twist the holder back into the assembly.
5. Reattach the Light Cluster
Carefully align the cluster back into position and secure it with any screws or bolts you removed. Make sure it sits flush to avoid any gaps that could let in moisture.
6. Test the Light
Before closing everything up, turn on your car and test the replaced bulb. Have a friend check from the outside or use reflections from a garage door or another vehicle to confirm it’s working correctly.
Troubleshooting Tips
If the new bulb doesn’t light up, consider these possibilities:
- Check the Fuse – If multiple lights aren’t functioning, a blown fuse might be the issue.
- Ensure the Bulb is Seated Properly – A loose connection can prevent it from turning on.
- Inspect the Socket for Corrosion – Sometimes, mild oxidation can interfere with proper contact.
Final Thoughts
Replacing a rear light bulb on your Audi A6 Saloon is a quick and cost-effective fix that requires minimal tools and effort. Keeping your lights in working order is essential for both safety and legal reasons, and this small task ensures you’re always visible on the road.
Next time a bulb goes out, skip the mechanic and take care of it yourself with confidence. Have you ever tackled light replacements on your car before? Share your experiences in the comments below!


